|
PICTURE
|
DESCRIPTION
|

|
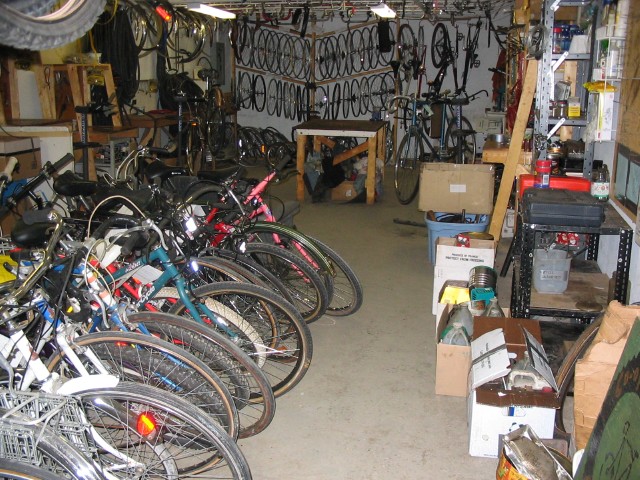
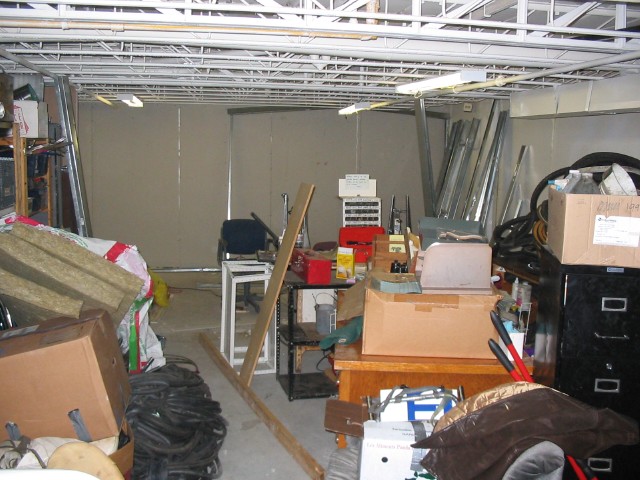
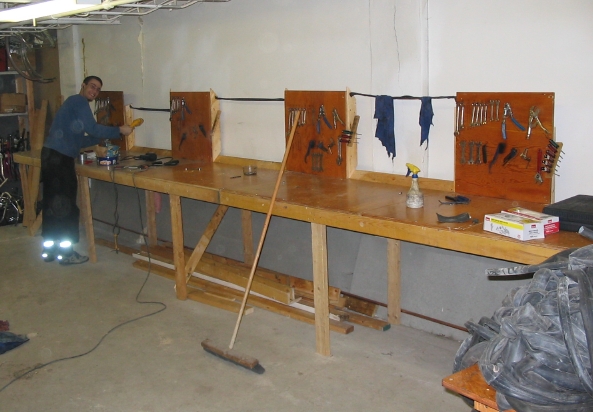
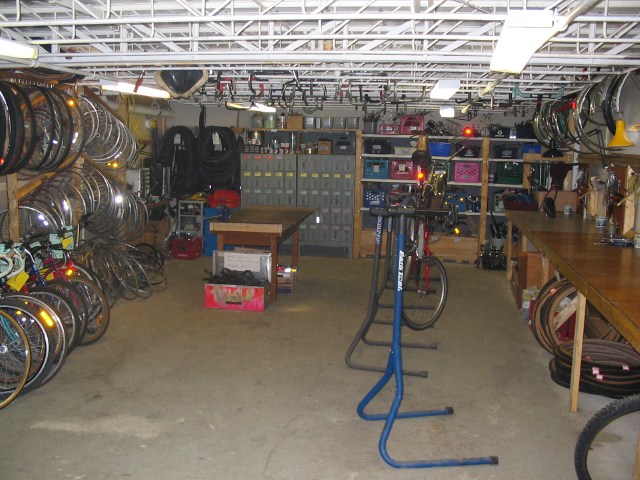
The old room, just before the move.
|

|
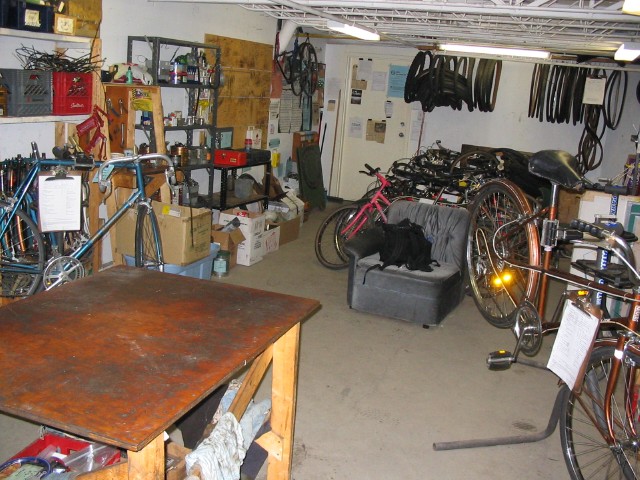
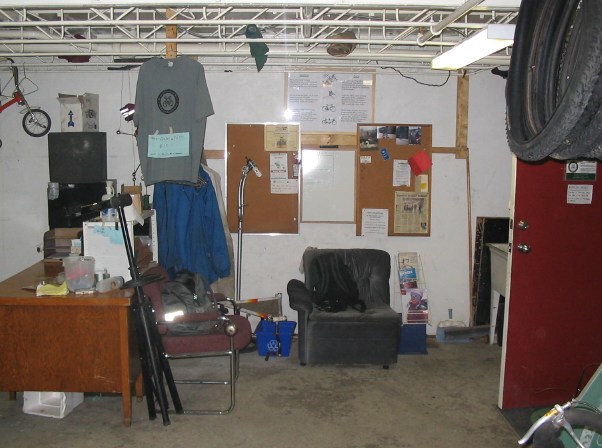
Same, view to the left.
|

|
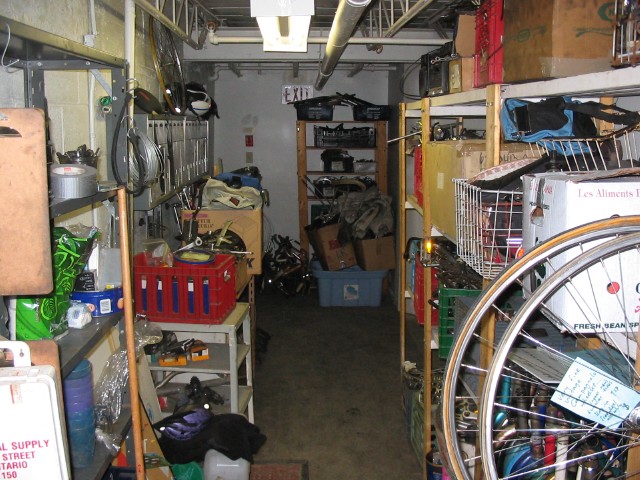
Same, view back to the doorway.
|

|
And then empty, with a clean floor, and only the sink and a few light fixtures still to come out.
|

|
The hallway, full of stuff!
|

|
The freight elevator, full of stuff!
|

|
The bottom of the stairwell, full of stuff!
|

|
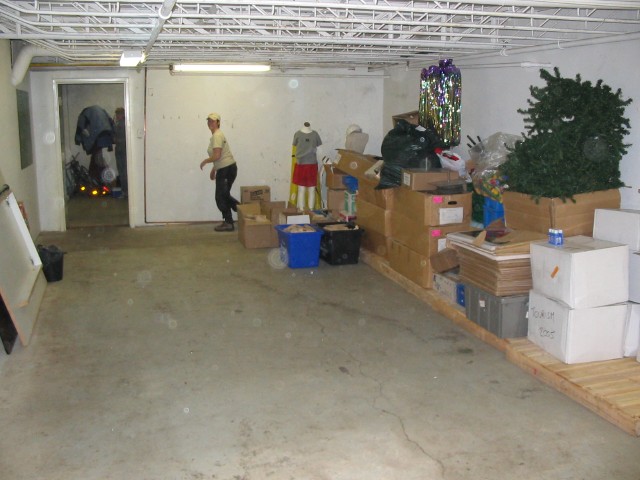
The old room, slowly filling up with Tulip Fest. boxes.
|

|
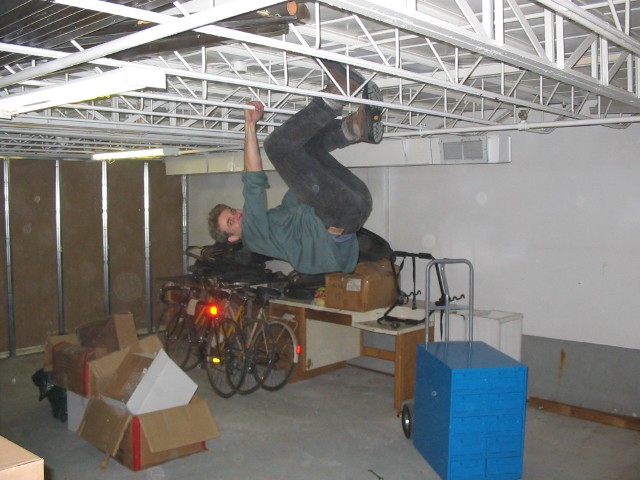
Rob, hanging out in the new room.
|

|
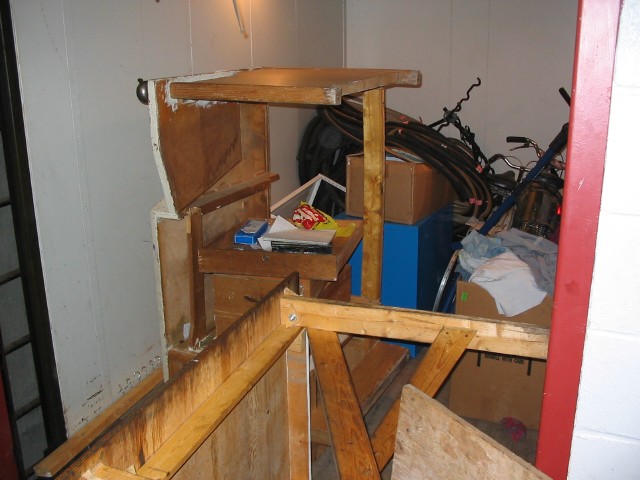
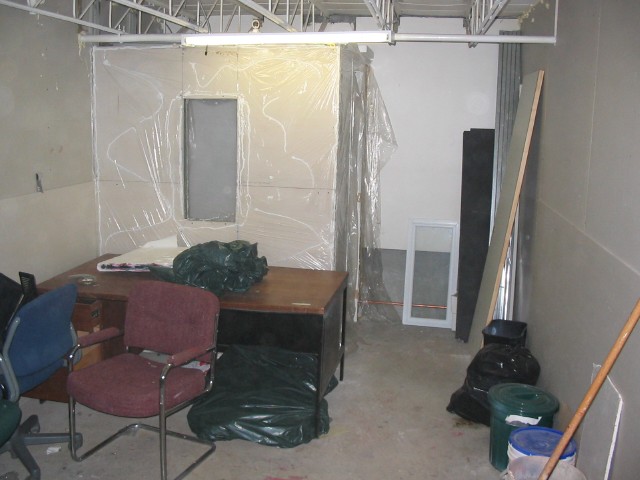
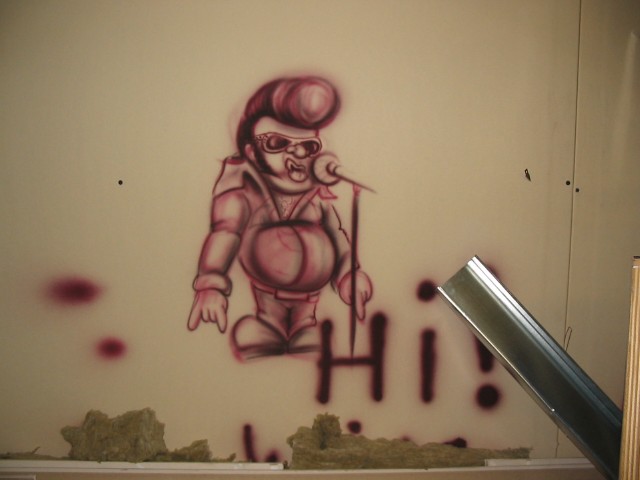
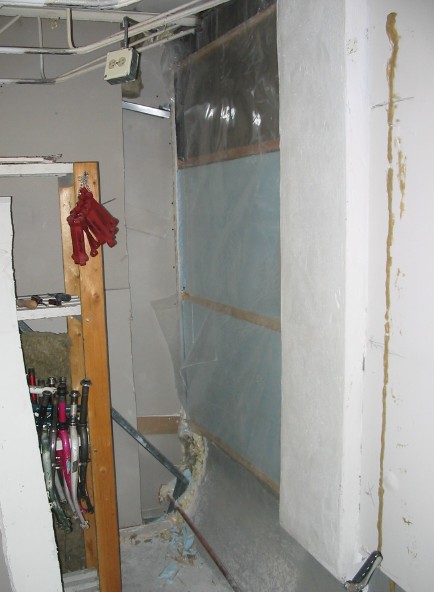
The small room behind the dividing wall, formerly occupied by two Elvis impersonators (the Elvii, as we dubbed them). The small booth was for recording vocals. This (and the dividing wall) had to be taken apart.
|

|
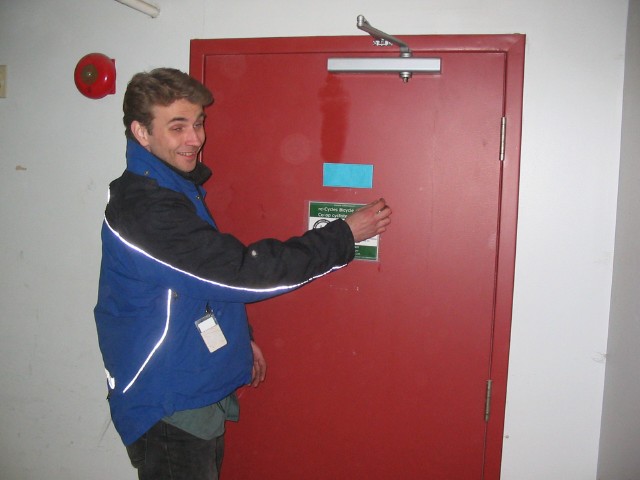
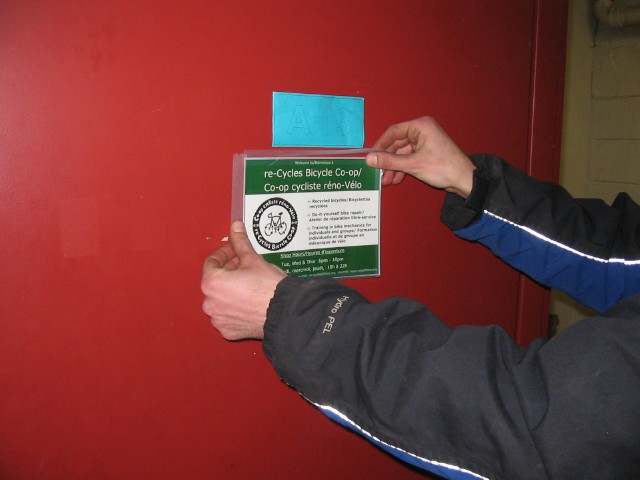
Rob, removing our sign from the old door...
|

|
... and affixing it to the new one.
|

|
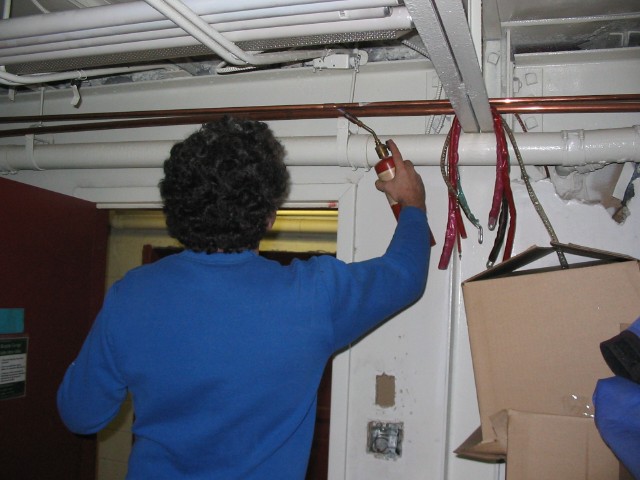
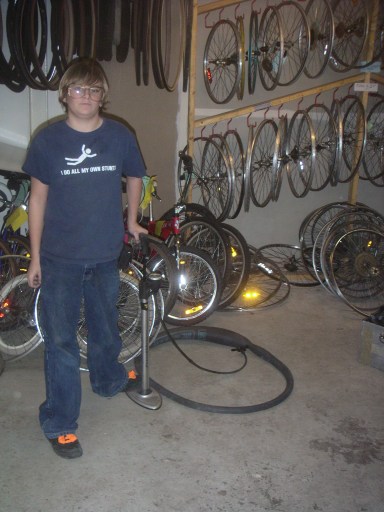
The next day, and setting up the new space begins with extending the water pipe for the sink. George has run the first piece and installed the shut-off valve.
|

|
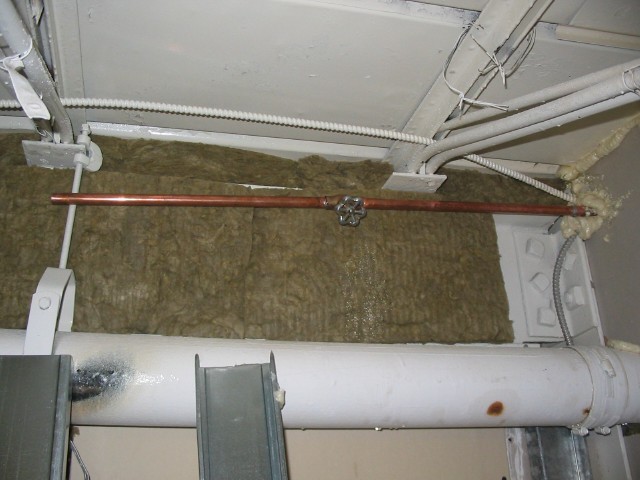
George, adding sections to the pipe, as it had to be extended almost forty feet!
|

|
Where the Elvii vocal booth used to be.
|

|
The Elvii may have left the building, but someone stayed behind.
|

|
The new room, with the dividing wall taken down, and far too much stuff scattered about.
|

|
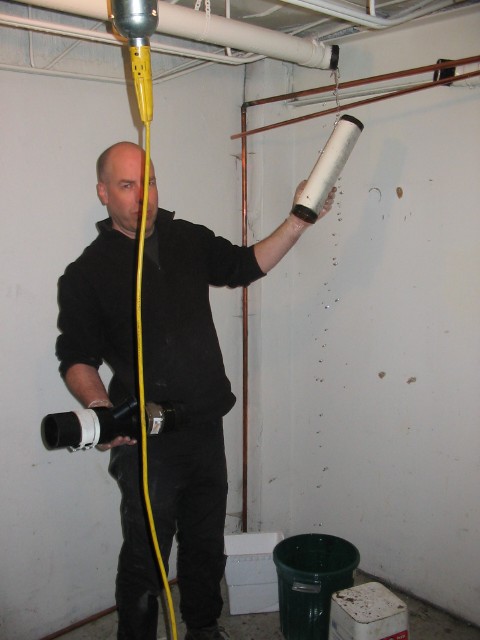
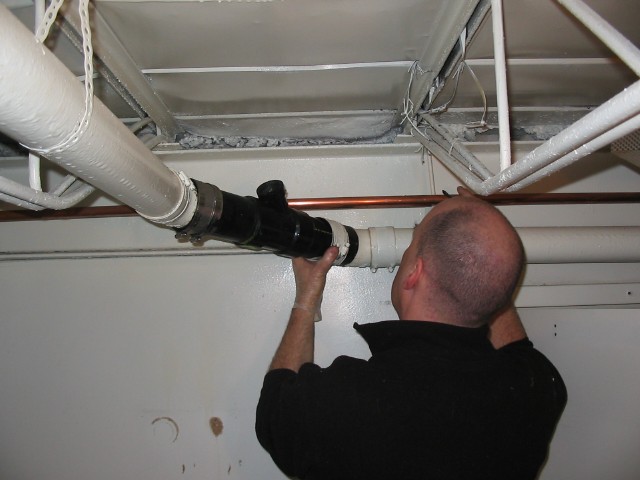
Me (Mark Rehder), after removing the original cast iron waste pipe so we can add in an adapter pipe for our sink's sump drain.
|

|
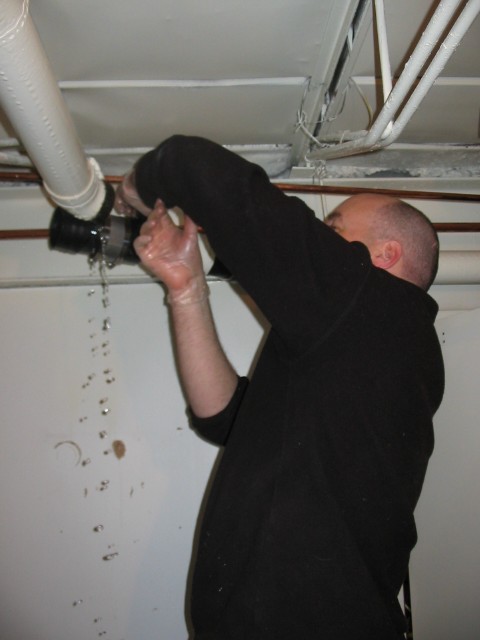
Getting ready to install the new ABS pipe fitting (yes, the open pipe continued to drip throughout the operation). Nice posture, eh?
|

|
Having fun (maybe). This was my first time doing this kind of plumbing work.
|

|
Done! It went together faster and easier than we had originally thought. And a subsequent test (flushing the upstairs toilet) showed no leaks.
|

|
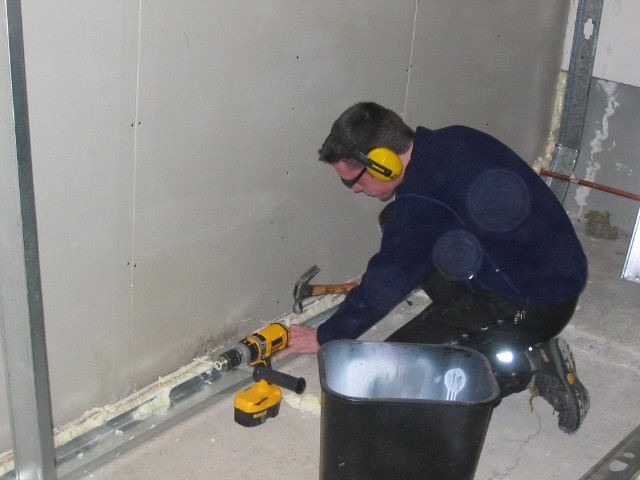
Jody, installing the foot plate for the new wall, using a hammer drill and concrete nails.
|

|
How to stuff a station wagon. And no, I really didn't want to pedal my cargo trike (which was still in its winter hibernation) the 10 km to an industrial park and then down to the shop in rush hour traffic, so I borrowed a car.
|

|
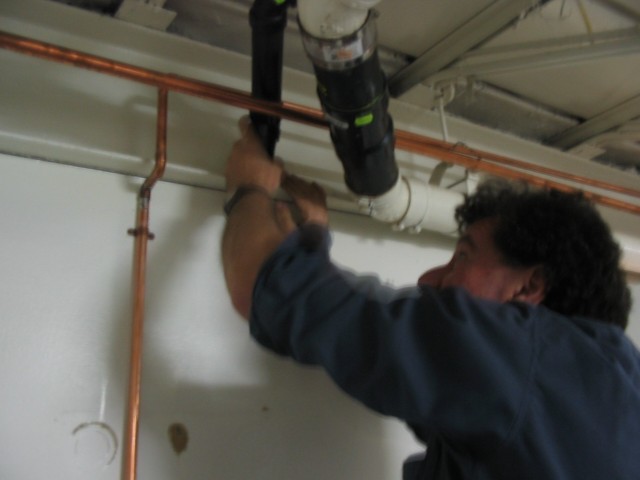
George, the happy plumber, running the drain pipe for the sink. Yes, the water has to go up! So we have a sump pump, which got cleaned out while awaiting installation. Three years of washing greasy hands can really add a thick layer of goo to the motor...
|

|
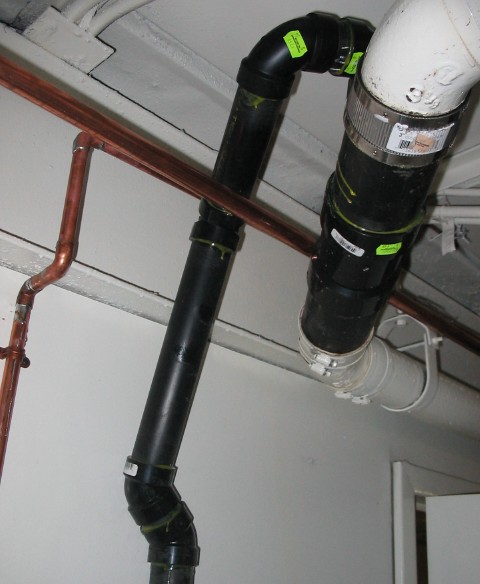
The convoluted angles needed to make the drain happen.
|

|
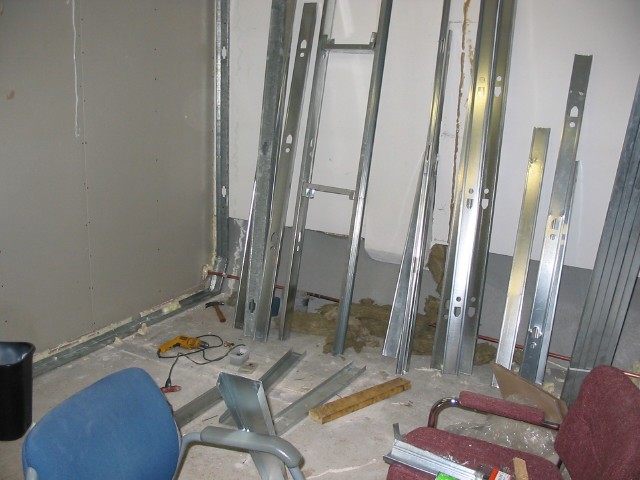
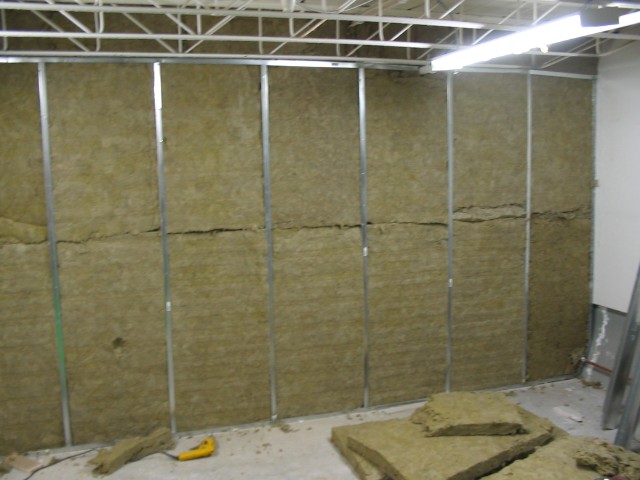
The second layer of wall, framed and insulated.
|

|
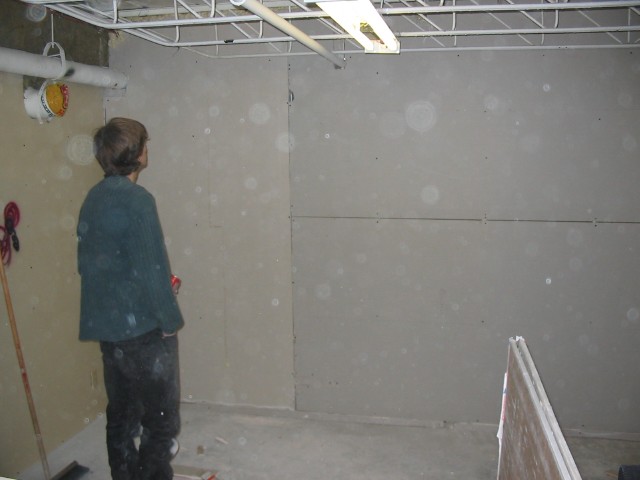
Paul admires(?) our drywall handiwork.
|

|
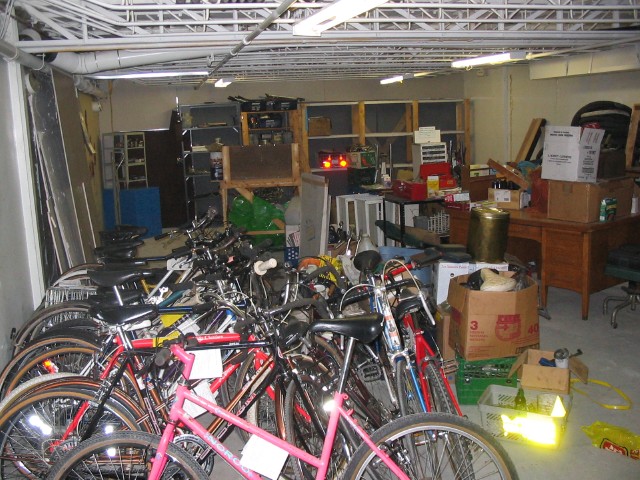
A portion of the room as of Tuesday night. Note the donated cubicle partitions pushed against the rear wall for extra soundproofing, and the parts shelves in front of them.
|

|
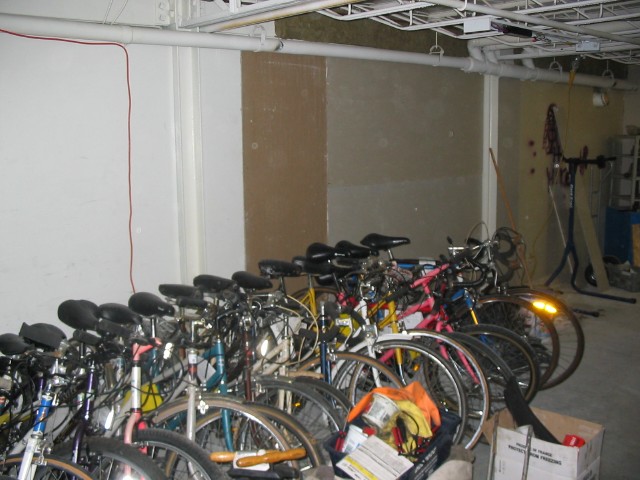
Drywall installed by Paul and Leonard to cover up non-finished section of wall.
|

|
A problem! Band noise was still coming in, and I was able to trace it fo the fact our two rooms were still connected. Without thinking it through clearly, we had attached our framework to the outside wall, but the drywall and framing in behind it travelled along the wall into the band room, so any noise they made resonated along that and into ours. So I had to open our wall, remove the acoustic insulation, and sever the physical connection by cutting the outside wall's foam insulation boards and and the 2x2 strips that framed them. Then a new sheet of drywall was put up, and positioned just far enough back to touch our new wall, but not the other one. Then our wall was sewn back up. What a job...
|

|
A close-up of the de-coupling.
|

|
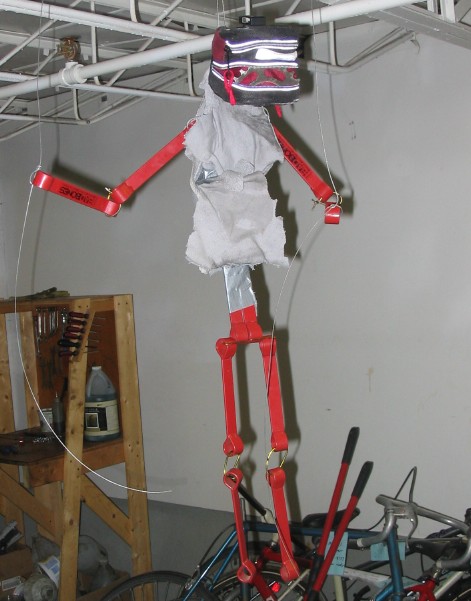
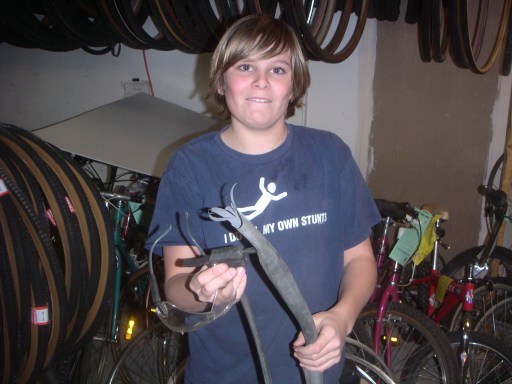
Kris got creative and created this cool puppet out of old "Bones" (marketed way back when as anti-spread bars for U-locks, but they don't fit locks made in the past ten years). Note the broken freewheel cog for teeth. I dubbed this fellow the "Elvis Chaser", to purge the room of any leftover Elvii energies. ;o)
|

|
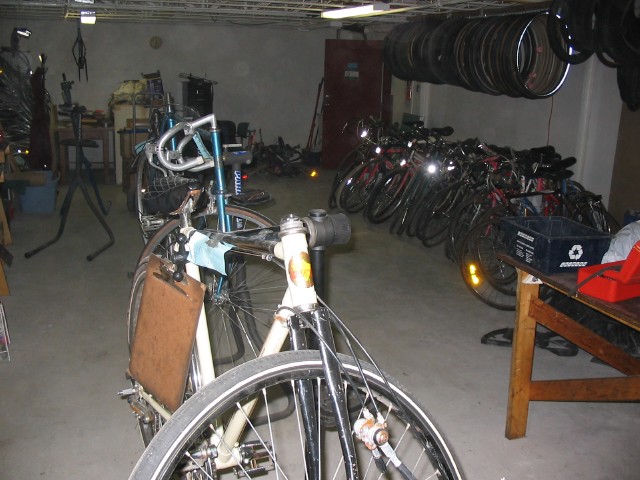
Thursday night, and the room is coming together! The view from the back...
|

|
...and from the doorway.
|

|
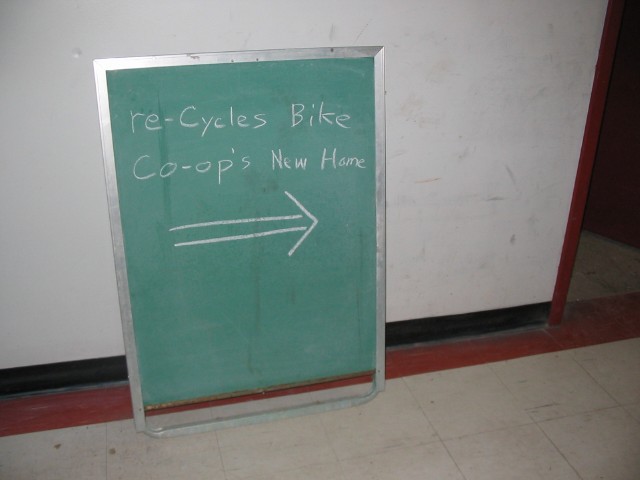
Gotta let folks know where we are now!
|

|
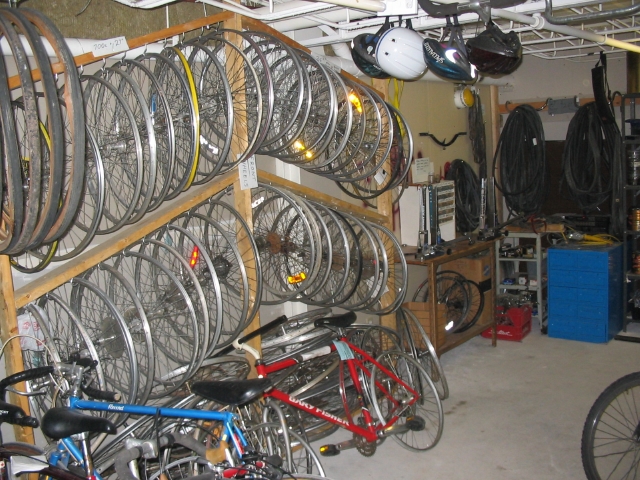
The wheel rack was re-installed, and also new innertube and rim tape storage in the corner.
|

|
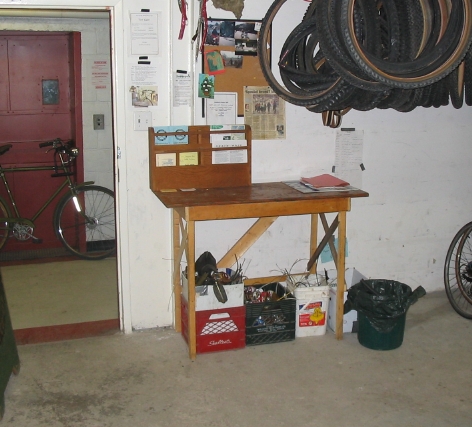
Looking at the north end, with the nice old desk donated by the Tulip Festival, and a simple coat rack built by yours truly.
|

|
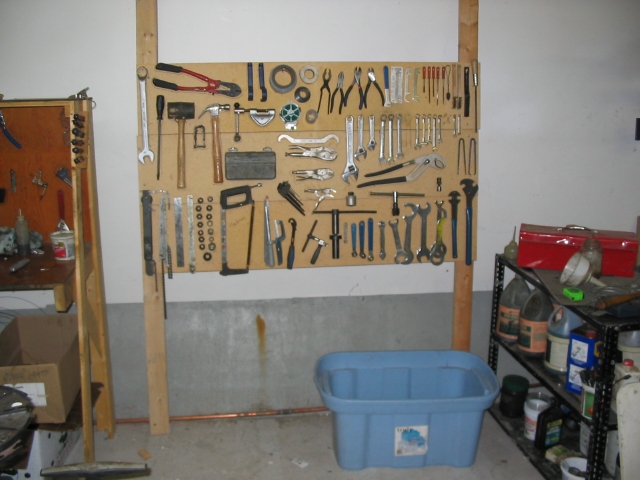
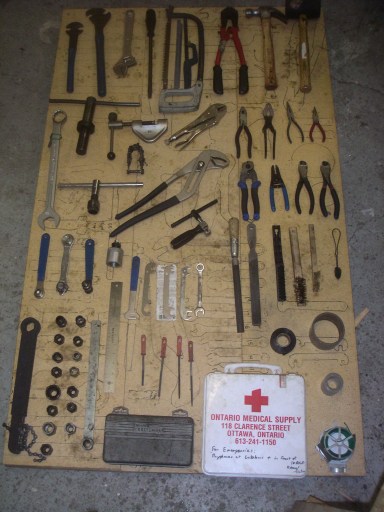
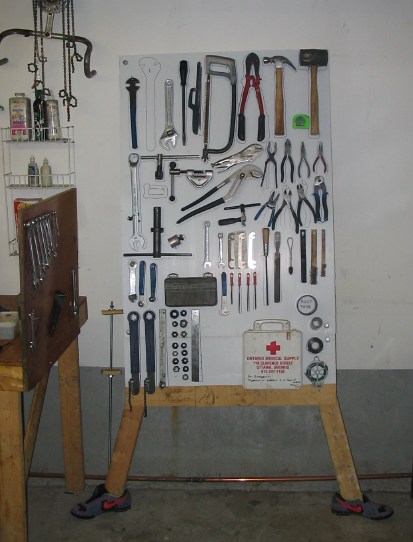
The revised toolboard.
|

|
The scrap metal area.
|
|
PICTURE
|
DESCRIPTION
|

|
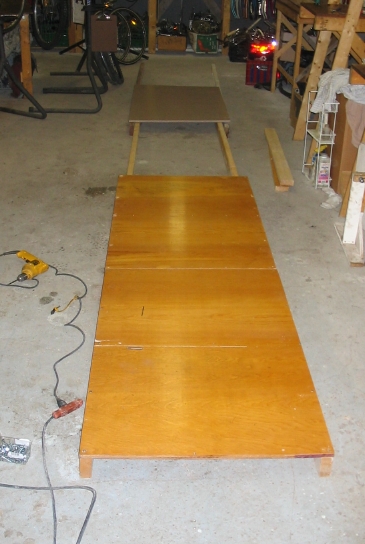
A few weeks later. It's time to get into a new concept with our workstations, so it's all being combined into one long platform. This will give folks enough room to work on their wheels at their stations (as opposed to the single workbench), and should also hopefully be less cluttered and easier to keep clean. George prepped some plywood boards for us...
|

|
Laying out the boards on top of 2x4s.
|

|
After I got the boards attached, Chris joined me to flip the assembly over and join the two sections together.
|

|
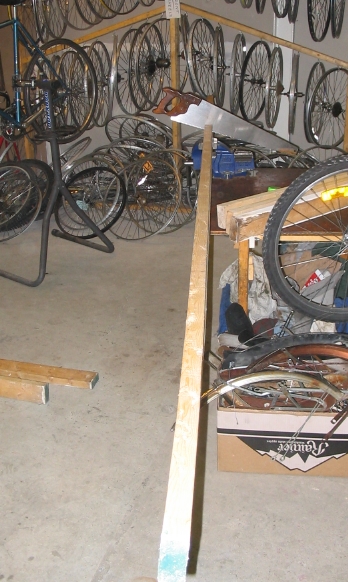
Fun with 12-foot pieces of wood.
|

|
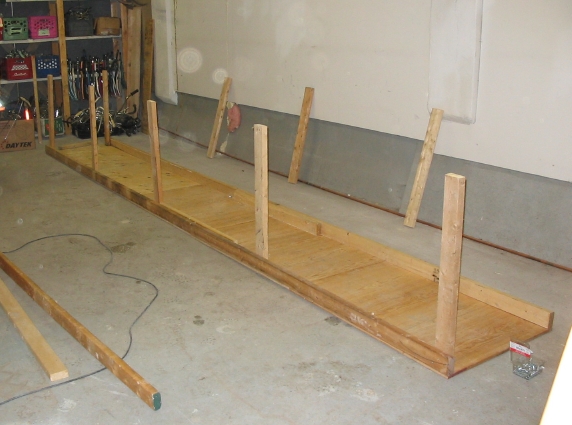
Installing the legs.
|

|
It's getting there! The wonky legs will get straightened out.
|

|
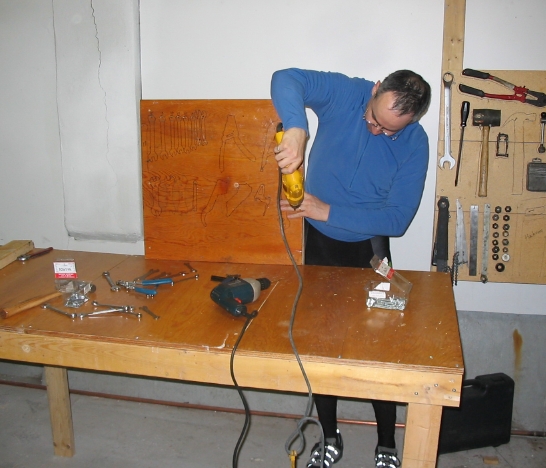
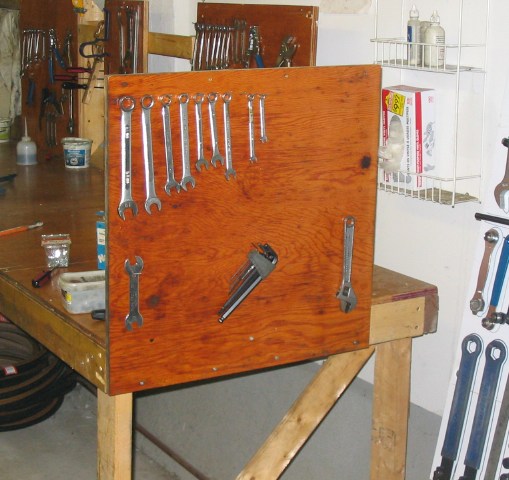
Chris tries not to fasten his hand while installing the toolboards from the old workstations.
|

|
Charles (and his very shiny ankles) shows off the new concept.
|

|
The rags had been kept under the worktable, but no longer. Now they can hang right within arm's reach of one's station. And being such clever monkeys we also found a use for dead innertubes as a "clothesline".
|

|
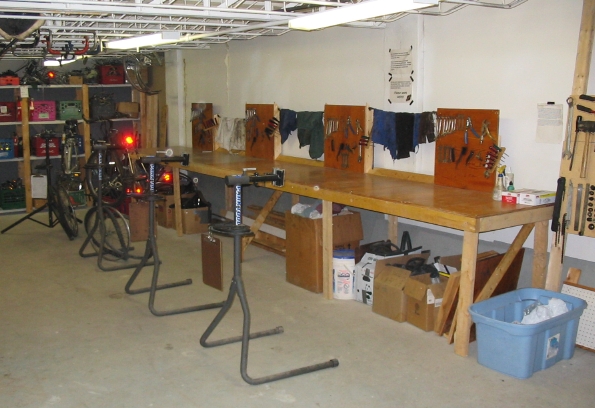
The bike stands are back in place, and it's all looking pretty good!
|

|
The old #4 workstation gains a new life.
|
|
PICTURE
|
DESCRIPTION
|

|
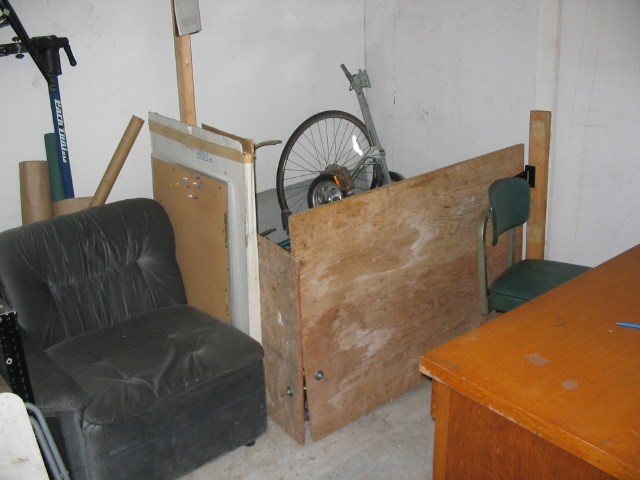
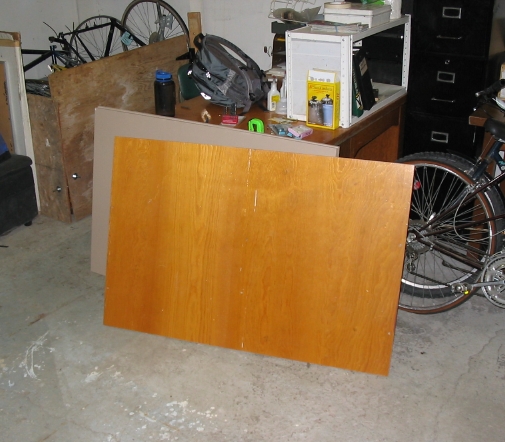
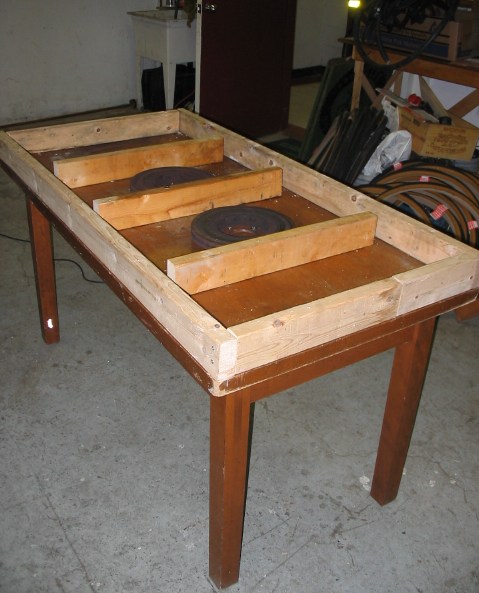
It's September, and after a busy summer we get back to trying to finish the move-in! Here, a donated oak table gets modified to turn into our new worktable (the old one was getting flimsy after five years of use). 2x4s are added to the top to raise it to a better height for standing, and the old table's top will go onto this.
|

|
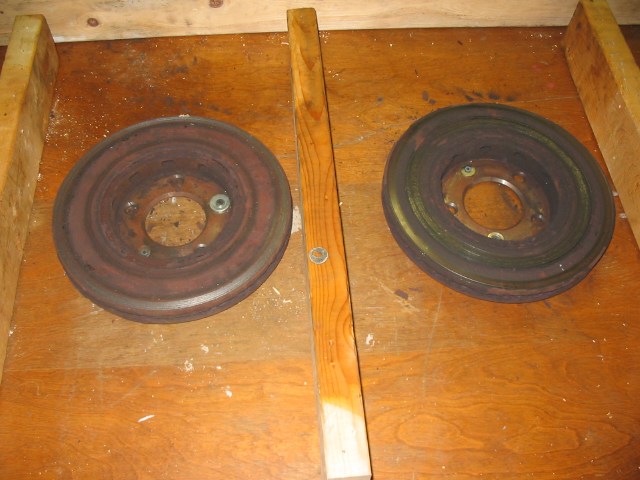
Those two round discs are brake rotors from a car. They had been added to our scrap metal, but we decided they'd be better has heavy ballast in the new worktable.
|

|
While this was going on, I had been rejigging the shelves, raising the three lower rows up to create more space (boxes were being built to fill the bottom area). Of course, this meant removing pretty well all of the parts bins and pulling the whole unit away from the wall to access the rear shelf bolts...
|

|
40 year-old birch plywood, donated by my brother, as he had torn out a rather worn shelving unit from his new house. The above-mentioned boxes would be made from these.
|

|
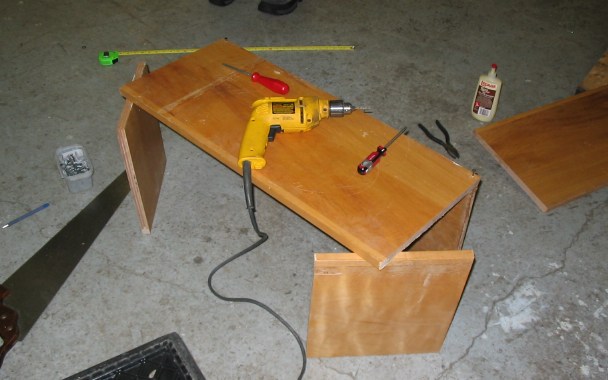
Pascal cut the wood, and being that birch is a hardwood, he also had to drill pilot holes for all the screws. Oh, and did we mention that we were re-using old drywall screws, and the leftover drywall dust did not help the installation, so each screw had to be greased?
|

|
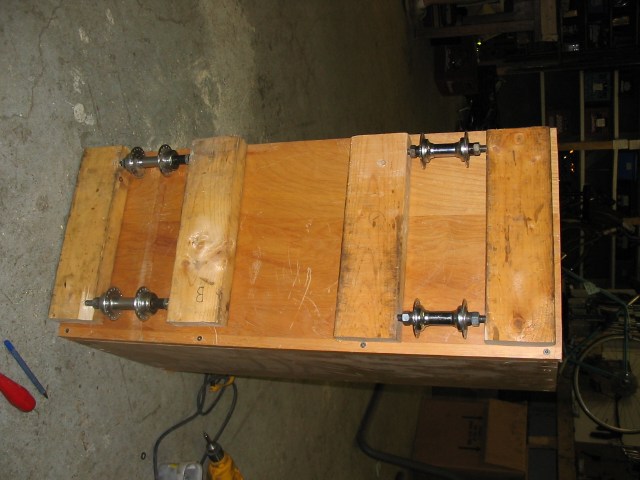
I had thought about casters for the bottom of each box, but ones that would be sturdy enough would raise the box up about 2". Then Pascal had the brilliant idea of using old wheel hubs as casters! The end of each axle was fitted into drill-out pieces of 2x4, and so the box rolls on the hub flanges. Not a good set-up for constant use, but for the usage these boxes will see it's perfect.
|

|
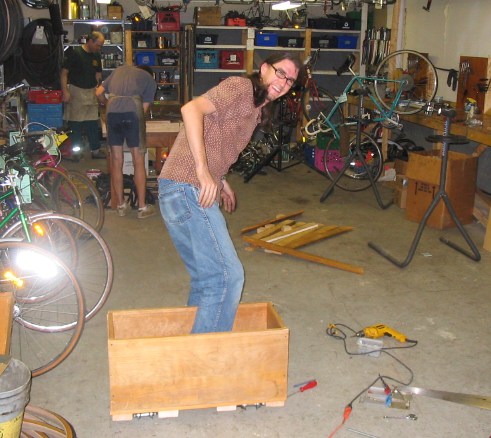
The master box builder tests out his caster concept.
|

|
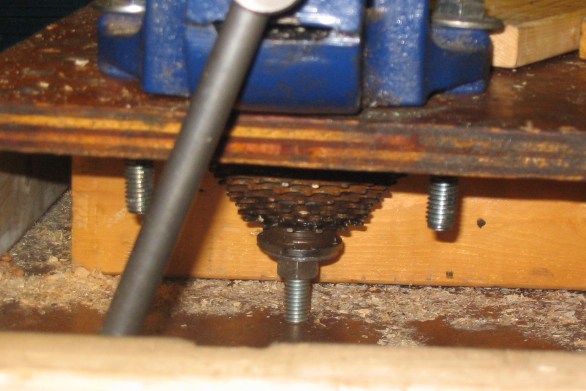
Meanwhile, after screwing down the old / new worktable top, we realized that the fittings for the oak table's legs would get in the way of mounting the through-bolts for the vice. So I suggested we just remove the top and bolt only to that surface (which should be fine). But we only had the long bolts used before, and the longest one needed a rather thick and strong "spacer". No problem, just use a dead freewheel!
|

|
This photo was taken just after installation of our new small to medium parts storage (note stuff on worktable waiting to fill it). The various coffee cans and margarine containers we had been using were multiplying at a steady rate, and we had been hoping to find some sort of multi-drawer set-up in which to store all of this stuff. We lucked out on this all-metal ten unit set at the Surplus Warehouse, where Manager Rick Larkin gave us a nice deal. While it's low on aesthetics it is very high on functionality, and is probably older than any of the bikes in our shop! This should meet our needs for the next while...
|

|
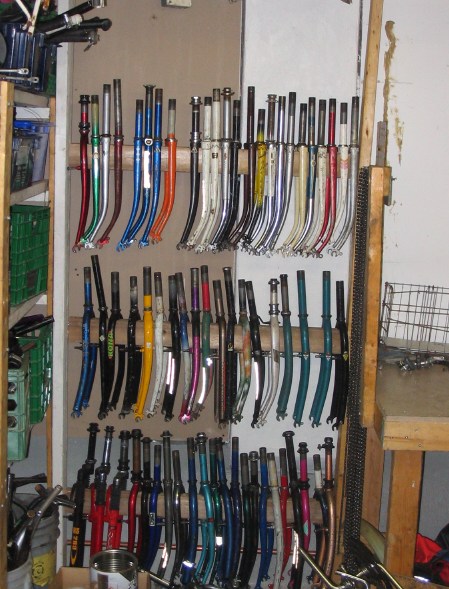
Chains had been hanging on nails from the old Ikea shelf unit, but once that was removed to make way for the new storage units they had to go somewhere else. A few days earlier I had just finished building a storage rack for our forks, and then got the inspiration to build a chain rack next to it.
|

|
The full view of the fork and chain racks.
|
|
PICTURE
|
DESCRIPTION
|

|
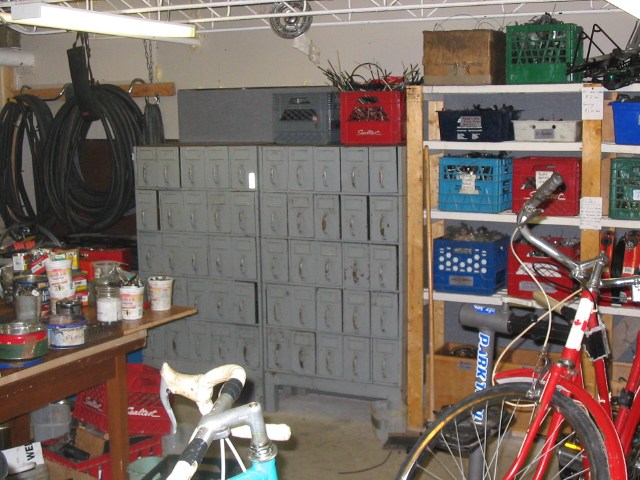
It's now the Holiday shut-down during Christmas, and a good time to get some more work done. Here's a view of the metal cabinets after the parts were moved in. Jeff sorted it all out and labelled each drawer, and further sorting has been continued by others. These dawers are so much nicer to work with than the previous containers.
|

|
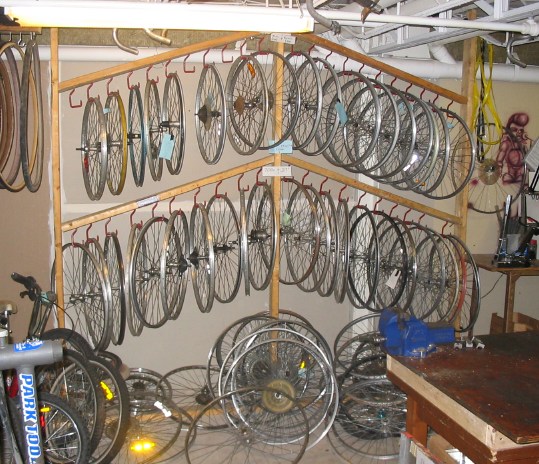
The wheel rack gets new rubber-coated hooks to replace the small metal ones (from which the wheels easily bumped). Now we just have to finally add a bottom row for small wheels.
|

|
Young volunteer Tim wanted to find out what happens if you over-inflate an innertube that's not enclosed inside a tire... (Note the safety glasses!)
|

|
... and he found out that the tube goes boom quite loudly! and shreds in an interesting pattern. We hung the dead tube up over the sink as part of our Shop Art.
|

|
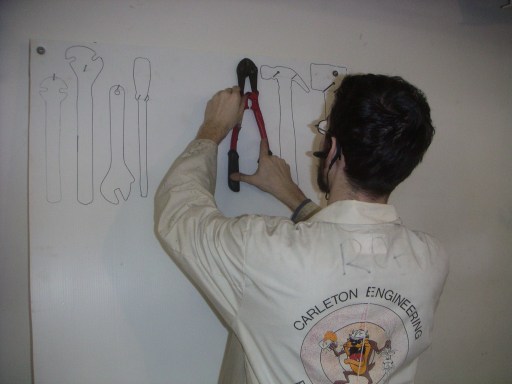
Reorganizing the main toolboard. It's size is being reduced due to how the tools are being redistributed onto other boards, so we have to reconfigure the whole thing. First we turned the board on its side for better use of space, then start putting the new puzzle together.
|

|
Since both sides of the wood had been used over the years, we had to recover it to enable scribing new tool outlines. Instead of paint we used scrap corrugated plastic (coroplast). Charles assumed the duties of "Head Nailer, Scribe, and General Assembler".
|

|
And it looks good! But look at the bottom...
|

|
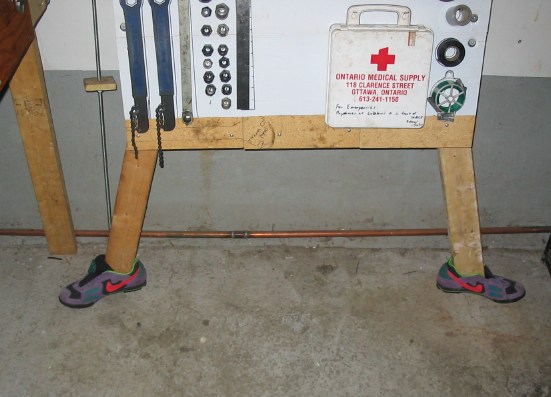
The 2x4 supports were canted out at the bottom for better stability, and looked like legs. So I said "hey, we should add some feet!" and then CJ went to our shoe box and grabbed the most colourful pair of '80s Nikes.
|

|
A fifth toolboard was added to the end of the workstation platform. This is for a Head Mechanic to use when helping bike purchase customers, or for someone using the spare folding workstand. Once more tools are acquired this and the other four boards will have identical set-ups, with tools colour-coded to match the stations. This should facilitate making sure tools are not missing and in the right place at the end of each shift (a necessary thing after a busy night with many customers).
|

|
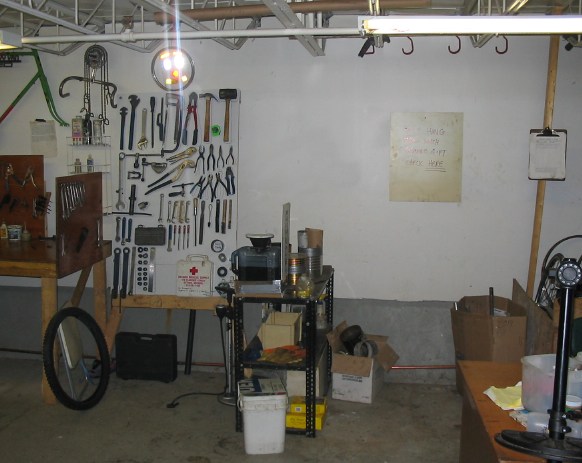
The reorganized area. New toolboard and fifth station, the BioCycle station cleaned up and moved to the left, and a space with hooks created to hold incoming donations until they get sorted.
|

|
Since the toolboard got feet I figured it should have a head as well. Fun with a scrap 16" rim, coroplast, and reflectors.
|

|
The shop is about 95% there! The wheel storage just needs a final clean-up, with space made for overflow under the workstation platform.
|

|
The Volunteer Corner / chill-out area.
|