Cargo Trike Construction Details - Page 5
Page 1 - Rear frame and pivot
Page 2 - Front frame
Page 3 - Completing frame details
Page 4 - Paint, Cargo Box, Lights, and Road Test
Page 5 - Getting the last bits done
Page 6 - Observations, and photos of working and playing.
Conclusion - when it's all said and done...
Update: revised front wheel and brake.
Getting the last bits done.
Photos 92 through 103.
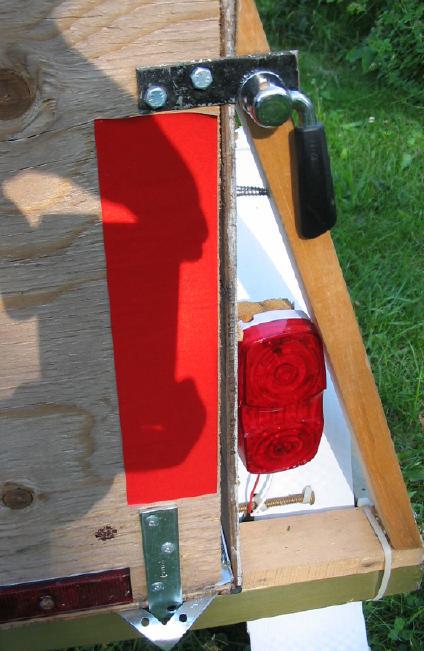
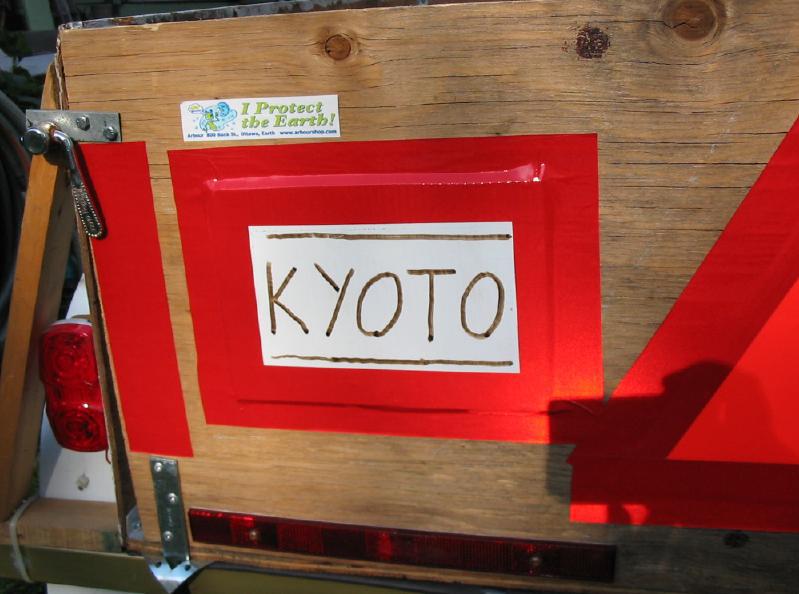
I fussed over the tailgate for a bit, trying to decide between hinging it at the bottom or just having it lift out (hinging from either side was ruled out, as it would probably just get in the way, being over three feet long). I eventually went with the lift-out, as the height of this panel would be taller than the distance from the bottom of the box to the ground, so if I hinged it the panel would not hang straight down, but make for a very steep ramp that would get in the way of things. I found some bits to use as brackets that would stick out from the bottom of the box, and then added three metal strips bolted to the panel's lower edge that would fit into these pieces. The top corners would attach to the box via standard seatpost quick-releases. When building the box I had used some scrap 1x2 to act as braces for the rear side panels to keep them from flexing out too far into the wheels. The photos below will do a much better job of showing what the heck I'm talking about here...
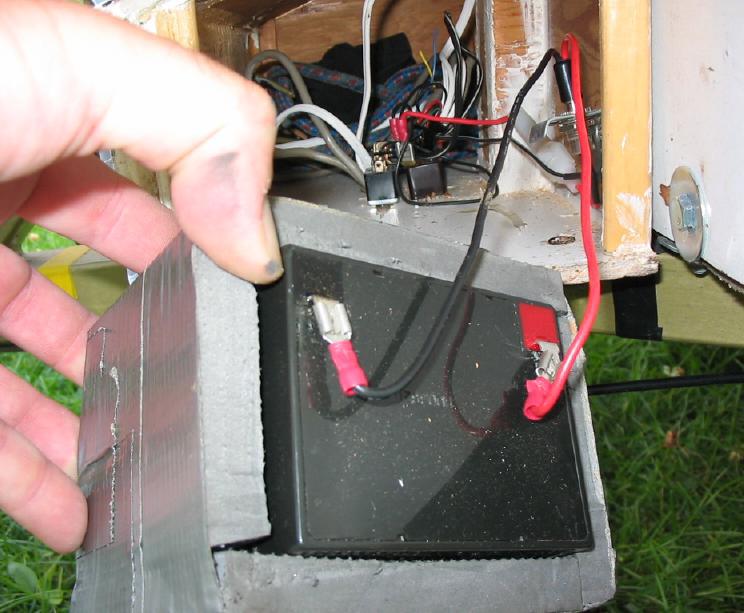
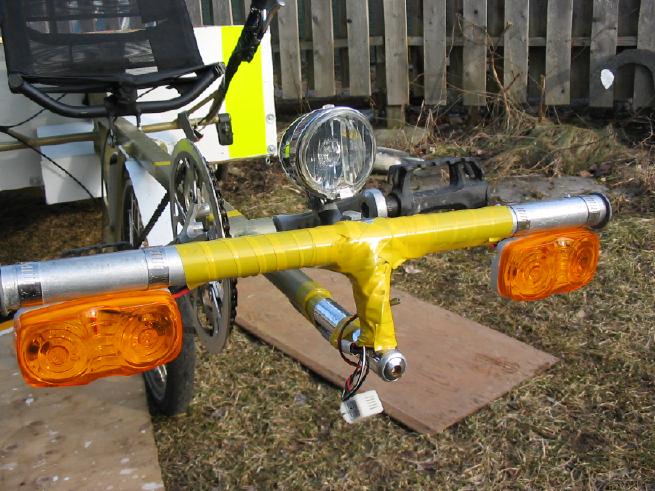
I also needed a place to attach the beefy Kryptonite lock and it fit well just in front of the battery box. I aso have a stout braided cable to use wth this lock. The battery box is covered in some scrap corrugated plastic I had lying around, and this stuff makes it quite waterproof. The photos show the lid open and how the battery (fitted into a sleeve of thick foam to cushion it from vibration) fits inside the box.
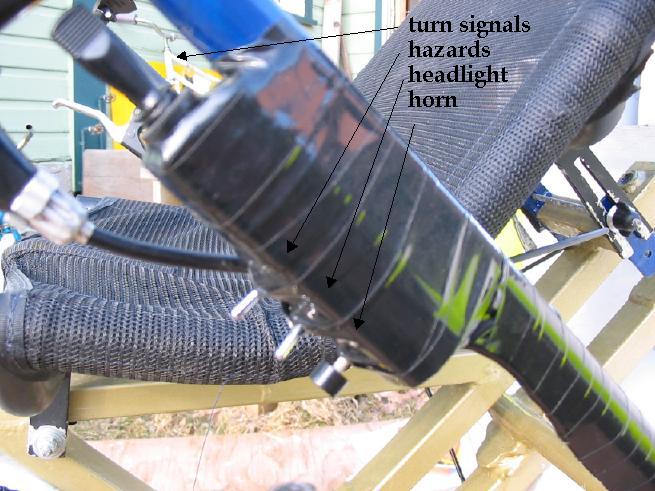
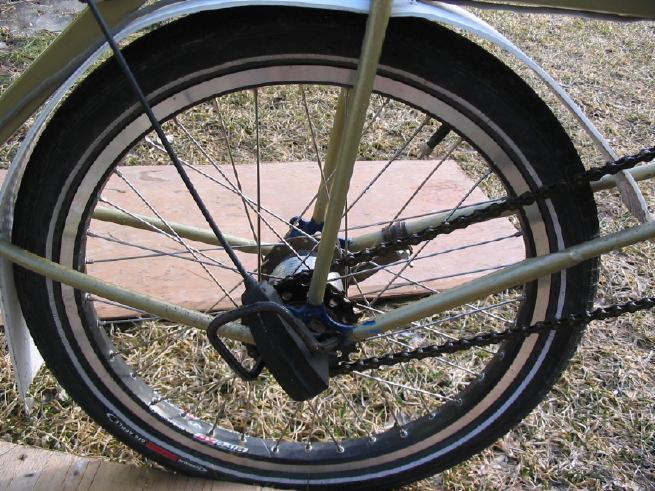
I've included photos of the battery box and switches, and these are explained in more detail on the trike lighting page. There are also close-up photos of various parts of the trike/
|